Good morning, my friends, and welcome to February. I'll tell you about yesterday's sewing toward the end of this post, but first...the day has arrived to reveal the "Mosaic" project for The Endeavourers art quilt group. I'm happy to say the group will be continuing on for at least another year. "Mosaic" was the last prompt selected, but we have a whole new raft of prompts to start off our new art quilty year.
For this project, I wanted to try a technique from this book by Timna Tarr. She has a page on Facebook, and her work with this technique is simply amazing. Her book is excellent, with excellent instructions. I had a question for her about the use of starch...something I almost never use. I sent her a message on Facebook, and she gave me an answer within just a couple of hours. Nice.
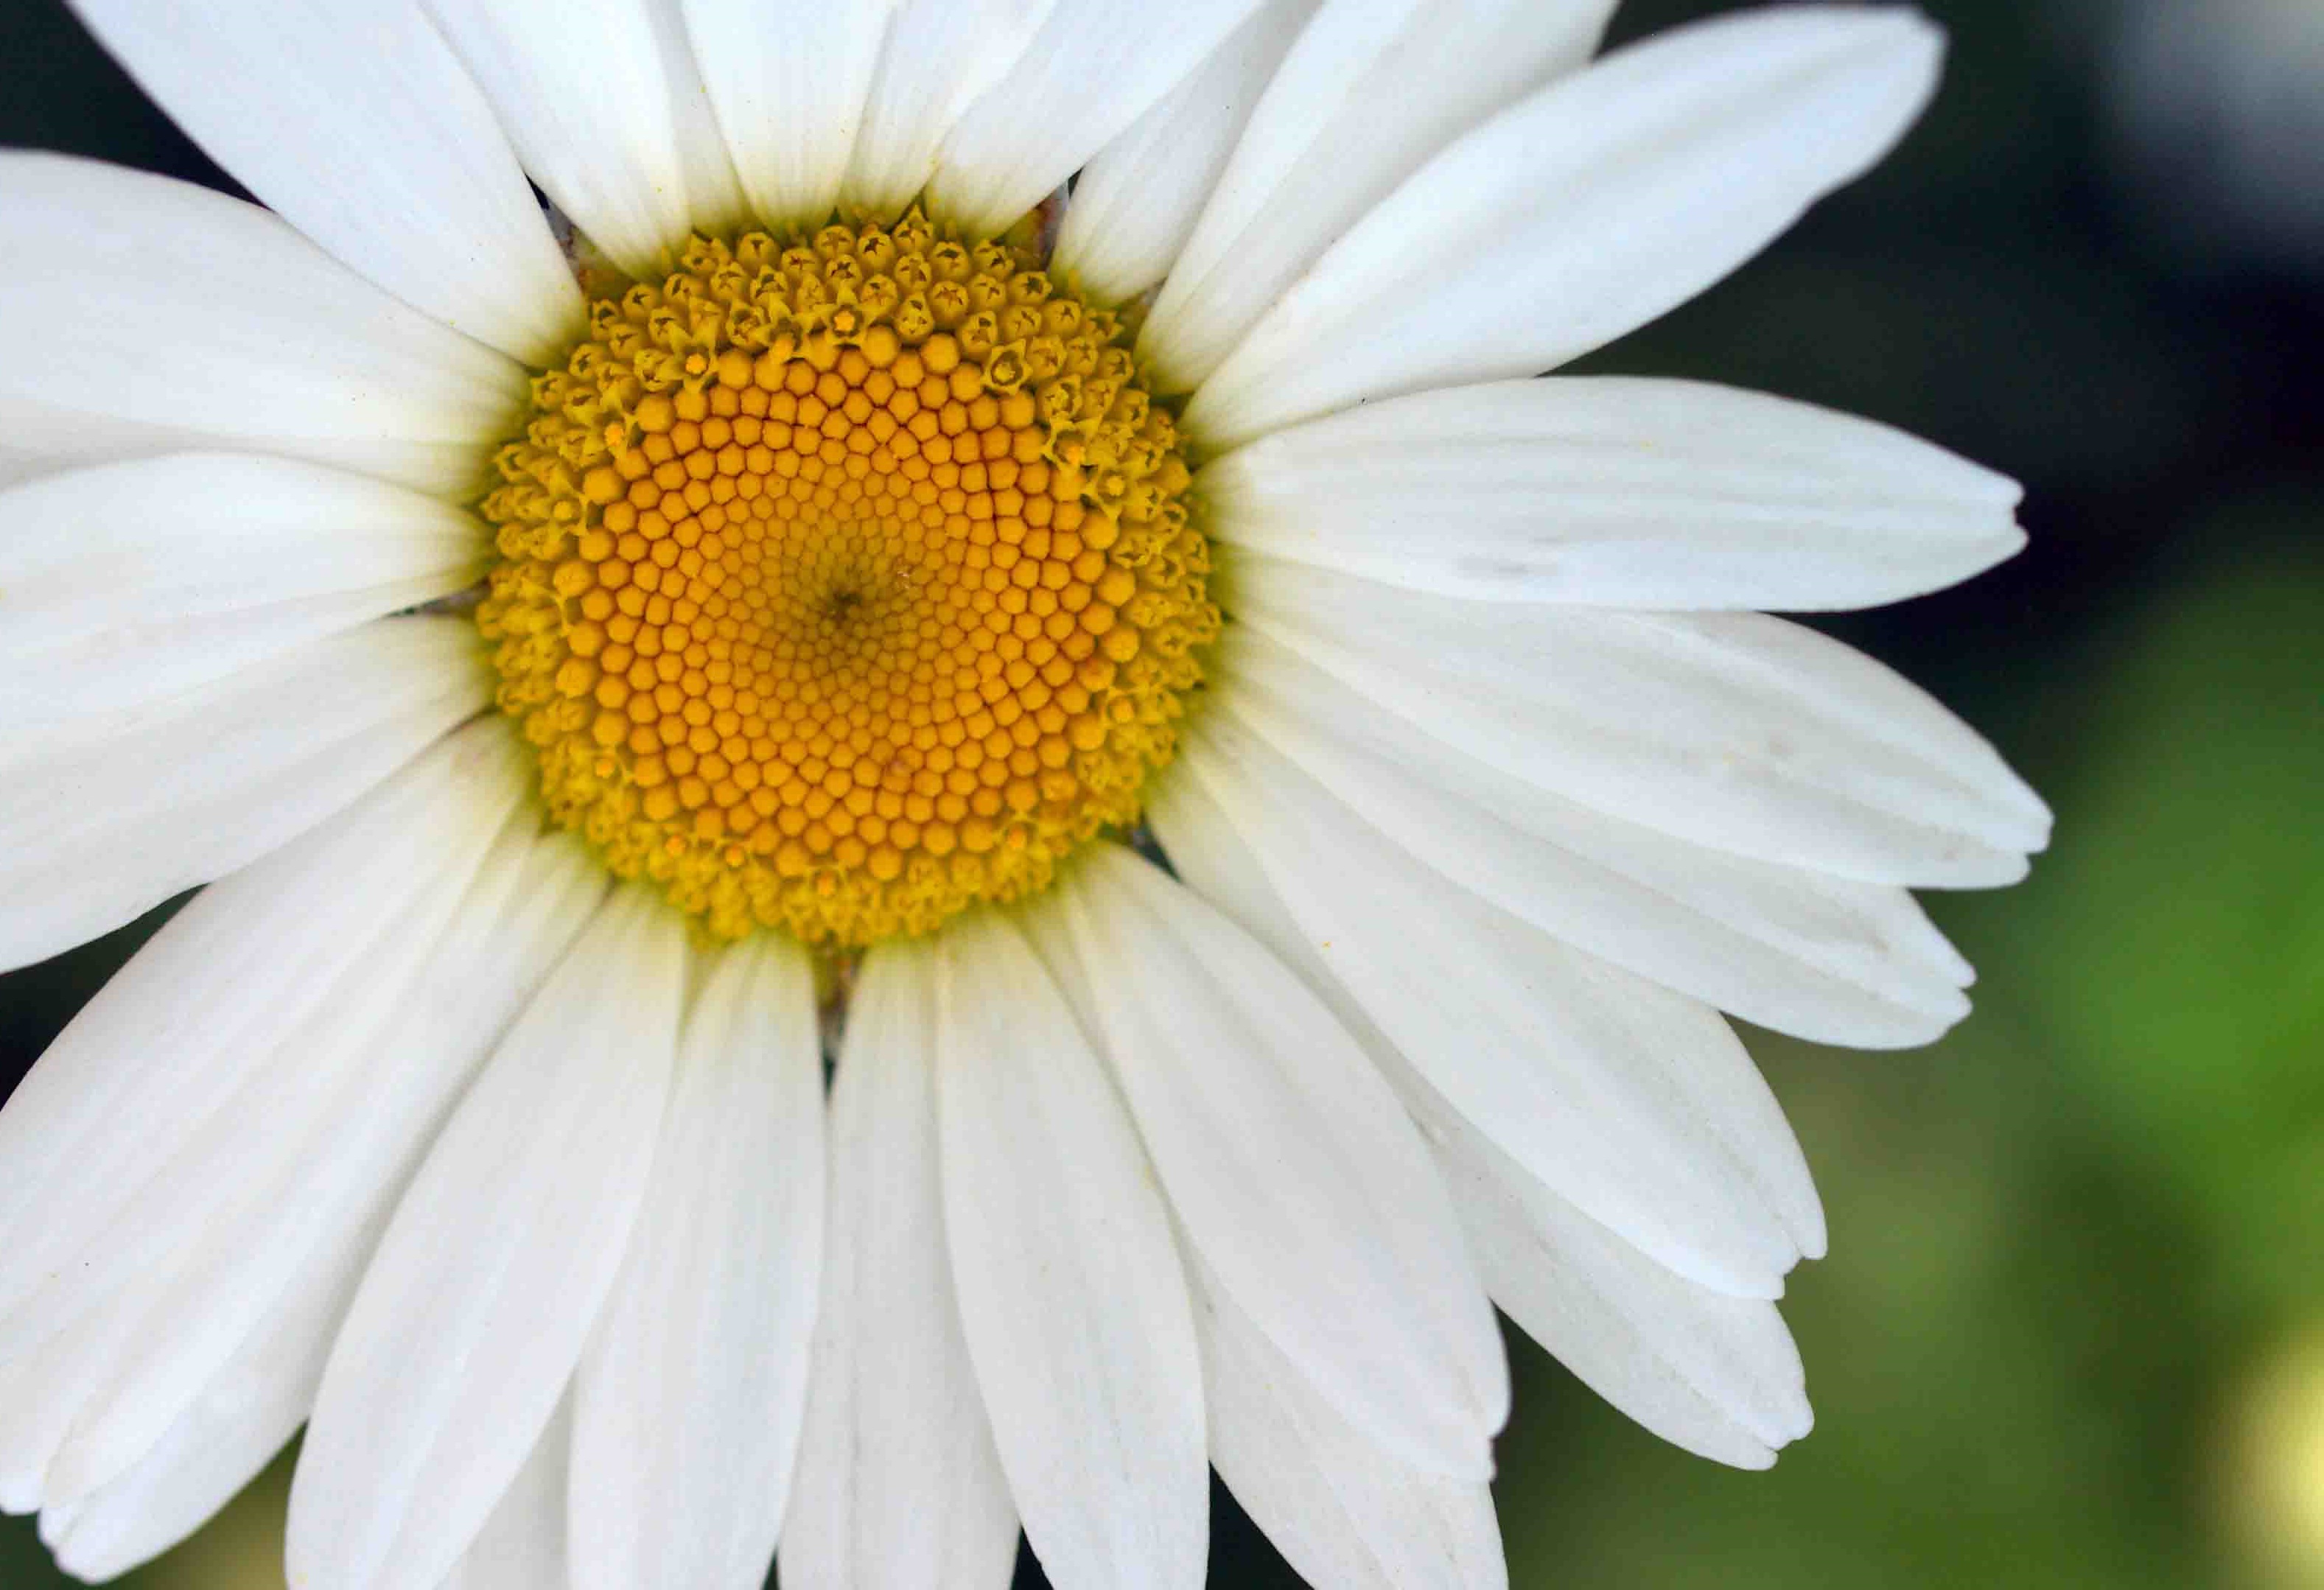
Starting on my project, I had a couple of false starts, both in the image I wanted to use, and then with the fabrics I wanted to use. In the end, I settled on this one.
The first step is to draw diagonal grid lines over the image. They can be of any size, but I was going by the book. Mine were 2 inches.
When it was all done, it looked something like this.
The next step is to number each square. That way, if your pieces get dropped or mixed up somehow, they're easier to put back in order.
As I went, I found that some areas were difficult to see with just a black sharpie. I went in search of one with white ink, and whoa! It exists!
It's actually a "paint" pen. I was disappointed that it wouldn't work to use directly on fabric. It simply absorbs into the fabric and can't be seen. For my purposes, though, it worked great!
The next step was to cut two inch squares from freezer paper.
Those were numbered and then ironed to the backs of fabrics as I went.
For this project, I set up a foam core board I could use as a sort of design wall.
I could pin the pieces directly to the board.
And I'm afraid I didn't document this process very well. I was too involved with what I was doing to be messing with my camera much. These next couple of images are from the first picture I chose. I was illustrating how it was difficult to see the boundaries between subjects through the freezer paper. I use some wax paper to first trace the boundaries.
And then, I could place the wax paper on my light box and trace onto the freezer paper.
And then, I just kept going.
Here was where my question about starch came up. The book mentions the use of spray starch or starch already mixed. I only had starch concentrate among my laundry supplies.
It was a bit of an experiment, but I ended up mixing my starch concentrate in a 1:6 ratio. Now I probably have enough starch to last me the rest of my life. Happily, I have a good container for safekeeping.
I've only ever done machine applique, and so this method was new to me. I painted the edges of the fabric with starch and then folded them over the cut template.
The book suggested marking the colors before cutting the pieces in order to keep straight which color went where.
Soon you'll see that neither of these fabrics was used in my finished piece, but this is the only photo documentation I have of my process. Originally, I thought I'd do the flower petals in pink and the background in aqua, but then I changed my mind and went back to the original.
And while this method is often used as "needle turn applique," I was still stitching the edges by machine.
And I kept going with the pink for a while...
But eventually switched back to the original white color. It helped me to pin the image to the white board and pin directly over the top of it.
When it was all finished, it looked like this.
Before trimming, I sandwiched it for quilting. My first step was to outline all the petals. This was my one worry regardless of the color fabric I used. Would there be enough contrast for the petals to stand out? Since there wasn't, I decided to outline them in black.
And then I did some pebbling in the flower center.
When the quilting was finished, I trimmed off the triangular edges
And added a binding. It ends up at 18 x 12 inches.
Here's how it looks from the back.
So I can't say I'm completely satisfied with how this turned out. Probably a different image would have worked better. Nevertheless, I enjoyed the process, and I'd try this again in the future if it seemed like the best way to complete a project.
As for yesterday's sewing, I had plenty of help finishing off the Merry, Merry Snowmen block.
Smitty doesn't like snow, though. He decided the best way to help would be to take a nap on the quilts-to-be-quilted pile.
Sadie helped me finish off the top-stitching. Do you ever get the feeling you're being watched? When I turned around from the sewing machine, this is what I saw. She had her lasers on for a little extra staring power.
After finishing off the bottom snowman, there was top-stitching, and then both machine and hand embroidery to finish off this fifth of nine blocks.
Here are the five blocks I have for this quilt so far.
In slow-stitching, I took a look at the progress on this block. There's still a long way to go.
I'll pick it up here this morning. Possibly, I'll have this finished by the end of the coming week.
Today I have on my to-do list a couple of easy housekeeping chores, and I want to bake some more muffins. I'm going to try the recipe for Oatmeal Muffins with Blueberry Jammy Bits on the back of the jammy bits package. Since we weren't fond of the bread, I'm hoping the muffins will taste better.
Also, it's time to make another kitten in a teacup. February's color is blue. Here's the first cup I made for January's pink:
February's kitten will be just slightly different. I'm hoping it doesn't cause me to gnash my teeth as much as January's cup did.
Also, February's block for The Sewing Room has been released. I'll start on that just as soon as I finish off the block for Grandpa's Bridges. Here's what I have for The Sewing Room so far:
Oh yes, and I almost forgot...it's time to choose a project for February's
When I've made my way through my list of WIP's, I'm going to get started on quilting the Vintage Linen quilt. This quilt includes pieces of my grandmother's hand-embroidered dresser scarves and tea towels. I created this quilt to give them a job outside my mother's cedar chest where they've lived for decades. My goal for February will be to finish quilting and binding this quilt made by my grandmother and me.
As always, there's plenty to keep me busy today. Our forecast has the snow level dropping to 500 feet at some point this evening. Since we're at 1,400 feet, it's a pretty sure bet we're going to see some of the white stuff. I'm kind of looking forward to it. I'm just hoping it doesn't interfere with my appointment for an annual physical on Tuesday. I might have to get the Resident Retired Engineer to drive me into town that day because I do not drive in the snow.
Okay, my friends. I hope your February is a good one. Day one is a good place to start.


.jpg)

11 comments:
We become not a melting pot but a beautiful mosaic. Different people, different beliefs, different yearnings, different hopes, different dreams. ~ Jimmy Carter
Your challenge quilt is beautiful!
You are amazing! I always enjoy seeing the projects you are working on and you’re never afraid to try new techniques. I think you did a beautiful job on the daisy.🌼 thank you for sharing.
Thank you Jimmy Carter. I've always enjoyed following his life after office. If we'd just have more of those people. Life would be more calm and kind.
Your daisy turned out great. Did you take art classes in school? Creative classes ?
Thanks so much for sharing your process with the mosaic quilt. It turned out great, and I am impressed! I will check out the book by Timna Tarr. Thanks for the link to the other quilts by the group. Each interpretation is so unique. I like the look of your quilt made with embroidery by your grandmother, and will enjoy watching you quilt it!
I love the challenge quilt and you information about the process was interesting and very informative. I hope to try some new techniques this year... no that should be I will try new techniques this year. I really looking forward to your Alaska trip as it is an area I know very little about. I hope the rest of your planning goes smoothly.
Your mosaic challenge project turned out beautifully. Even if it's not a favorite, as you said, you learned a lot. Looks like you've got lots of fun stitching stuff on tap for this week.
Your daisy turned out wonderfully well and you should be proud of it. Thank you for the explanation of the technique you used and now I'm wanting to get my hands on that book to read more about it.
The snowmen are so cute (if anything containing the word 'snow' can be cute!). I am thinking it would be fun done in blues too.
And fun to see a return of the Vintage Linen quilt. Reminds me that I still have a bunch of offcuts of linens that I should do something with.
You did such a great job on the mosaic challenge, and I'm looking forward to seeing the new teacup kitty!
Lovely way to use your grandmother's embroidered linens!
Enjoyed seeing the daisy progression. Fascinating. Good luck with your goal.
Post a Comment