We survived our trip to the grocery store yesterday. It was surprisingly crowded for a Thursday morning. As my friend "SB" noted, everyone had run out of Thanksgiving leftovers and they were there to restock their shelves. And the grocery store needed to restock its shelves too! I was surprised at how many spaces were empty of what should have been there. Oh well...I got most of what I needed and made substitutions when I had to.
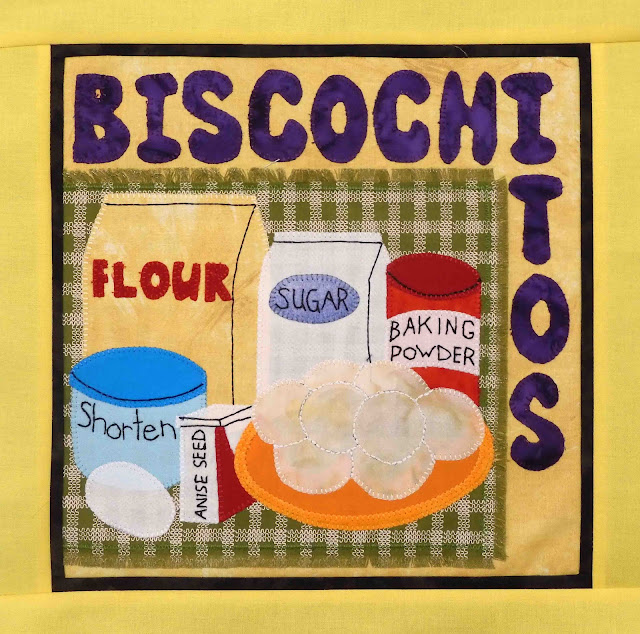
It was after lunch when I was finally able to get into the sewing room. My first task was to finish off the borders on the latest New Mexico Kitchen block.
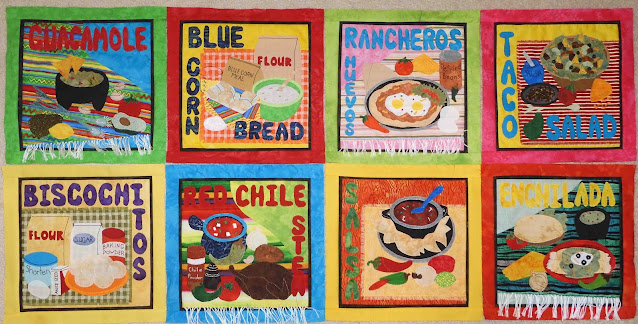
There was no hand-made fringe on this one. Instead, six of the 12 blocks have a "tablecloth" from which several lines of woven thread have been removed to fray the edges and make fringe that way. It's much easier than the fringe that needs to be added one fringey-fringe at a time. There are still two more blocks like that in my future. For now, I'll rest easy knowing I have eight blocks finished. Four to go.
From there, it was time to get a start on my newest project, French Roses. I'm going to do this one in flannel. I'm embarrassed to admit I have two
huge boxes of flannel scraps. When I was a newby quilter, I foolishly put out a call on what was then the "Quilting Board" for flannel scraps. Little did I know how willing quilters are to foist off their scraps on other people. I thanked them for their generosity, and then started saying, "Oh no...I couldn't possibly...wait...no...really...Noooooooooooo!" I think at the other end, people were smacking their lips and saying, "Fresh meat!"
When I opened just one of the boxes of scraps, I vowed to make a spot on my WIP's list for more flannel scrap quilts. Sadie found this all very impressive, and she considered ways she might make a bed from this.
This quilt is made using a technique that was new to me, and so I took the pattern upstairs and sat in one of the comfortable chairs while I read over the instructions. (Admit it...how many of you actually read all the way through instructions when starting a new quilt?) It was actually pretty easy to do. The first step, though, was to make some plastic templates for the flowers and leaves. Fortunately, I had some of the plastic left from a long-ago-given-up-on project. I absolutely hate working with templates, but this is going to be okay. I'll show you in a minute. For now...here are my templates, ready to go.
Next, I cut all the pieces I would need from the background fabric. I cut the borders the long way on the fabric, so there will be no piecing involved. And then I cut 25 10-inch squares for the block backgrounds. Since my quilt is flannel, I'm going to sew a half-inch seam allowance. My experience with flannel is that it frays apart at the seam with a quarter-inch seam allowance. Maybe a half-inch seam allowance will help. So, all of these pieces were cut a half-inch wider and longer than instructed.
Opening just one of the boxes, I sorted out some of the greens to use for the leaves.
Using a pencil, I traced directly onto the wrong side of the fabric and then cut on the penciled line. Next, I was to place the leaves randomly and lay the large flower piece over the top.
Here, the instructions said to remove the flower piece, but I decided to just fold it back to preserve the placement. Then I repinned the leaf.
And then I sewed around the edges. The straight side will be stitched down with the flower.
Then, I repinned the flower for stitching.
It was here, I remembered to shorten my stitch, as the instructions suggested. I'm including this picture for my own reference as much as yours.
Then I stitched around the edges of the large flower.
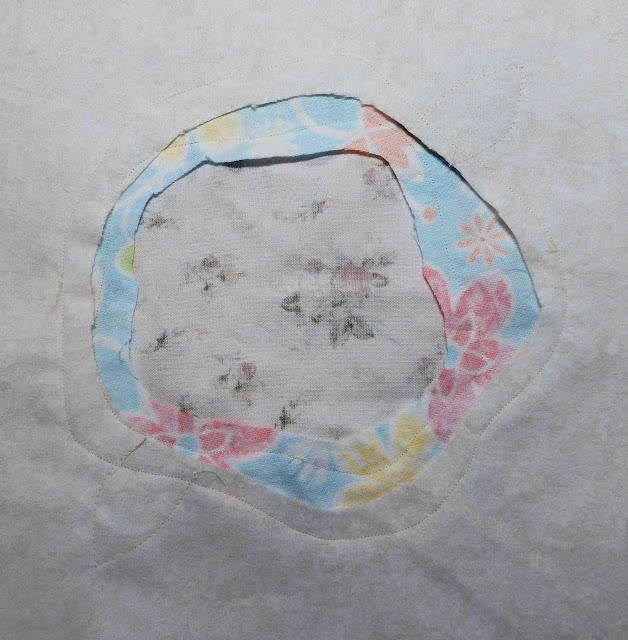
Now, here comes the scary part: I was to cut away the background fabric to reduce bulk. As it turns out, this isn't difficult at all. I just made sure I had a good grip on both fabrics, then cut a little snip in the background fabric. Then, it was easy enough to trim it away with a pair of sharp scissors. By keeping my finger behind the tip of the scissors, it was easy to tell I was only getting the background, and not the flower. Here's how it looked when it was finished.
From there, I just added more layers of flowers.
And then another layer, and my flower was finished.
Here's how that looks from the back:
While I was cutting fabrics for the flower I was making, I was cutting another set of fabrics for another flower. I'll pin these together in sets, and then take them along when we travel south this winter.
My goal is to make five blocks in each go-round (25 blocks total). If these go fast enough, I might cut an extra five to take along.
When these are finished, I'll get back to the Ties & Tails quilt. The last time I worked on it, I had it this far. If memory serves, I'll be making another cat like the one at the top right.
It's the last quilt on my WIPs list, and then I'll get on with quilting the Appalachian Memories quilt. So many quilts, so little time.


8 comments:
Always walk through life as if you have something new to learn and you will. ~ Vernon Howard
I love when you start a new quilt... I love when you finish as well.....
I love the flower designs on the new one
That's a fun way to use up those flannels! Fun seeing your other quilt projects progressing, too! We had the salmon sheet pan dinner last night, and both thought it was so good! Thanks for sharing the recipe!
Oh, Lord! You asked for scraps?! I found my solution. Our Guild makes "Cube-ies " for teachers, counseling groups and day care centers. We make a cube from home dec fabrics leaving a hand's widths unstitched. Then we fill the cubes with our scraps. The size of the cubes is determined by the age
I like the construction of the rose quilt. For close work like that, I purchased duck bill (appliqué) scissors with a long narrow tip. It makes it easy to get into tight spaces. I presume since the rose layers are not spaced far apart you won’t be quilting the roses just the background?
Glad you survived the grocery store.
Hi,
This is kind of like the Bulls Eye quilt I made in that you cut out the back. I was so happy to be using my scraps but then ended up with a ton of cut out circles. My friend and I are making the second comfort quilt to donate from the circles I cut out. Maybe you could use some of the cut outs for smaller petals in your quilt? I think your quilt will be beautiful! Tempted to make one myself! Thanks for the 1/2" seam allowance tip.
Love your Blog!
Marilyn
I don't think I've seen that particular method of construction on a quilt before but it certainly makes sense (mind you, I'm not a sane quilter so maybe I'm just out of the loop).
My friend Pam Wolf is the designer for the New Mexico Kitchen quilt. I recognized it right away. But she is no longer designing and closed her business. I tested a few of her patterns for her in the past, but not this one. Yours is looking great!
You work on such fun projects!
Post a Comment