

It's such a simple technique, I may sew nothing but circles for the rest of my life! (Not really, but I'm super excited about this.) Here is a sampling of Dawn's work.

When I signed up for the class, I purchased the pattern you see on the left and right called "Full Moon Rising" and available on Dawn's website First Light Designs. We practiced making the inset circles in our class, but instruction was completed by lunch time. We were invited to stay and begin our projects after lunch, but the technique was so simple, I decided to head for home and get a start there. I might add that her handouts were excellent, and so I felt confident striking out on my own after just one try. Here's the practice circle that I made during our class:

Man, was I stoked when I got it right on the first try!
So here's what you do. You're going to need some freezer paper. If you've never worked with freezer paper, then you need to know three things: First, it has a shiny side.

Second, it has a dull side.

Third, freezer paper is just about the best thing going.
Here's why. You can iron these two sheets together because the shiny side has some wax on it. But the best part is that even when you iron it down, you can just peel it back up and iron it again and again and again. Think of it as a fusing medium that can be endlessly repositioned. In this case, it's cut to a size larger than you want your circle to be (by about two inches all around). You need two sheets because they give you a nice heft. You're making a pattern from this.
So I ironed my two sheets together, shiny side of one against the dull side of the other, so that one shiny side is on the bottom.

And then, I used this fancy circular rotary cutter to cut a circle the size I wanted. I don't want to go into a lot of detail about how this works because it'll just confuse you. Just know that you set the cutter to one-half the size you want your circle to be. It works something like a protractor...remember those from geometry class? (You don't want to get my started on Mr. Murphy, my high school geometry teacher, who was a total creep. Enough said.)

I have mixed feelings about this tool. I won mine in a contest, or I probably wouldn't own it. It makes nice circles, but it's really easier to choose some round thing and just trace around it. Dawn was using an old CD because it happened to be the right size. Anything would do: tops from cottage cheese tubs, a salad plate, tops of medicine bottles, jar lids...I think you get the picture. Just trace around the appropriate-sized circle and then cut it out with your paper scissors...unless you don't care if your sewing scissors get dull. Then, by all means, use your sewing scissors. (If you are somebody's husband borrowing your wife's sewing scissors to cut paper, keep in mind that doing so is grounds for divorce. Just sayin'.)
So there's my cut out circle...only, I don't want to use the circle. I want the cut out piece on the right. The circle is a scrap. Do with it what you will.

So now you take your background fabric and turn it face down and then you iron the shiny side of your paper template to the background piece. By the way, when this is finished, your background piece will be a little smaller than it was when you started, so be sure to give yourself some extra, and then cut it to size once you have the circle done.

Once you have that pressed down, you're going to cut out the center fabric circle, leaving about 3/8 inch seam allowance. I started out using scissors, but then I decided this was more easily done with my 28mm rotary cutter. Either way works. It's going to be a matter of personal preference. I found the small rotary cutter easier to use.

Once the center circle is cut out, then clip all around the edges just the way you do whenever you're clipping curves. Clip about 1/8 inch from the paper, and make your cuts about 1/4 inch apart.

Now you'll want to put something under your piece so that you don't get glue everywhere. Here, I'm using a scrap piece of freezer paper, but an old hand towel or some muslin works well too. Just take your basting glue stick and run it all around the edges of your paper circle. (I had trouble with my glue drying too fast, and so you might want to do just part of the circle, or else just add more glue if it dries too fast.)

Then, you just fold back your clipped edge to the edge of the paper and stick it down.

If those little pieces want to get twisted or folded, just pry them up with a stylus, and then stick them down again.

When you're finished, it will look like this.

Now it's kind of super important to put something under your work to keep the glue off of things because you're going to go over the top of that edge again with your basting glue.

When that's finished, you'll smooth your moon fabric face down over the glued edge with your fingers.

Stick it down good. When you flip it over, it'll look like this. If you're using directional fabric, or you have a design you want centered, you can check for placement at this point. If it's not where you want it, you can easily reposition it. Be sure you're using basting glue and not permanent glue.

If you're satisfied with the placement, then flip it back and iron it down with a dry iron.

Now you're ready to sew. Turn your background fabric so that it's face up and facing you and then peel the freezer paper away from the fabric until you see the edge of your cut circle.

You'll want to put your sewing machine needle down right next to the paper and stitch all around...like stitching in the ditch. It helps to shorten your stitch here.

When you get all the way around, just stitch 5-6 stitches over where you started and then cut your thread.

Here's how it will look from the other side.

Then just tear your freezer paper and pull it away from your stitching until you've removed it completely.

Your piece will look like this.

Next you'll want to cut the excess fabric off about 1/4 inch from your stitching line. Be sure to hold your background fabric away so that you don't cut it in the process.

When you're finished, it will look like this.


Flip it to the right side and voila!

Cool, huh? Easy as pie. Just press it flat and you have one beautiful inset circle.
Here's the second one I did. I wanted that crane to be right in the center.

Here's another example of Dawn's work, showing how you can create a new background fabric with your inset circle, and then inset yet another circle to create an interesting design.
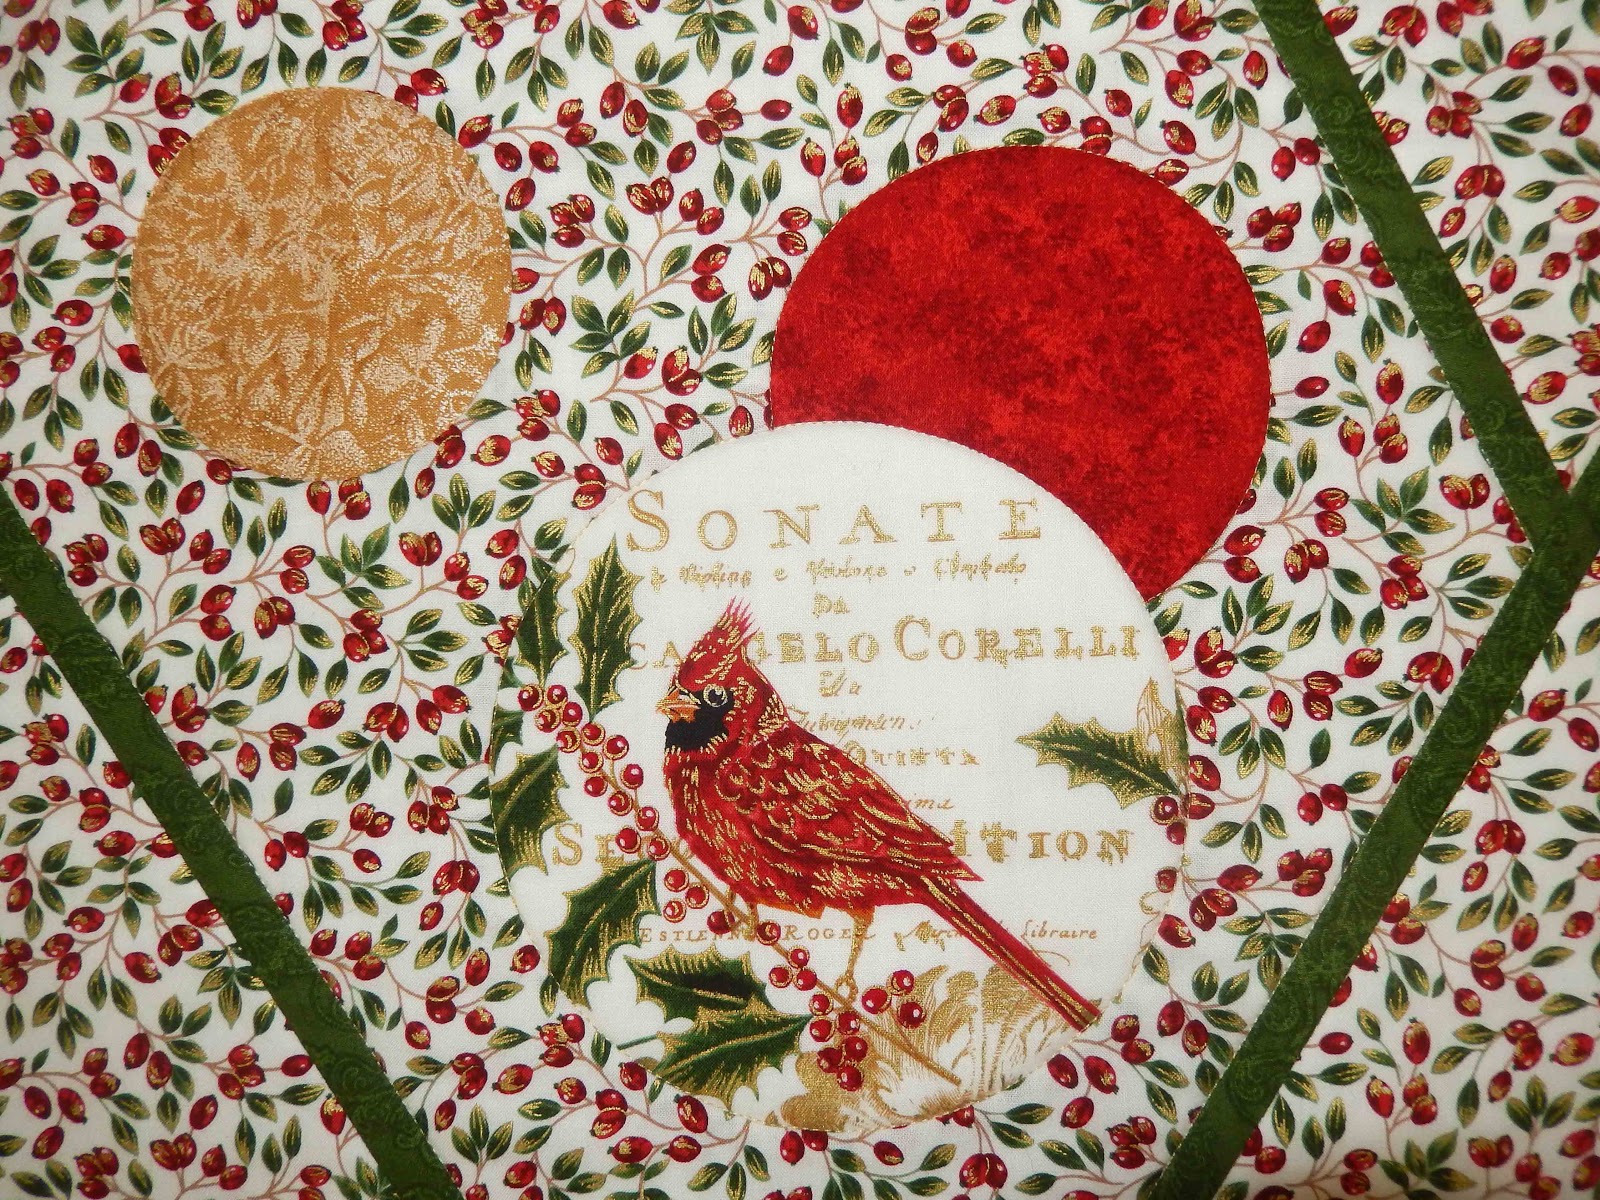
Pretty, huh?
Now I've swept all my other projects onto the floor so that I can make a table runner. Three more circles to go before I start sewing it all together.
This morning we're having brunch with the kids to celebrate Father's Day. If you're a father, have a father, know a father, want to be a father, or know someone special who is like a father to you, then I hope you have a nice day planned spending it with him or someone else. Did I cover all the ways to celebrate Father's Day in one sentence? Whatever you're doing today, make it a good day.
Linking up to:

21 comments:
Reverse applique (I use this method too) gives such a fun dimension to projects - enjoy your day.
Very cool idea, I got lost at one point but I think if I was actually doing it I would catch on.
If you or your friends need a refresher, look for Dale Fleming's book, Pieced Curves So Simple: No Applique, Pinless Piecing, or search for videos by her--there's an old one from Simply Quilts and a couple on The Quilt Show (for members). I really hope your guild speaker gave some credit where credit is due for this technique. I love insetting shapes (it works for shapes other than circles, too!) this way.
Great tutorial, I'll have to try this since there's a pattern I'd like to make that has several circles.
Thanks for sharing.
A neat way to do circles. I be giving it a try in the near future, your tutorial is bookmarked and ready to go..
I use these set in circles a lot...great for eye balls (just use a polka dot for the background fabric). Dale Fleming showed this technique on Simply Quilts and I think the video is still on HGTV's website. I really like her suggestion of using a zipper foot because it makes sewing the fold in the fabric easier. Oh, and I used to use glue for both parts, but then switched to spray starch for the first part and am now just spritz the fabric with water before I iron the flaps back.
Hmmmm - I can see why everything else was swept to the floor! That is very cool!!
What a great tutorial Barbara. Thank you for sharing.....I am pinning it right now for future reference.
what a neat tutorial.
Neat way to do circles Barbara. Thanks for sharing.
Very cool circles! Makes me want to stop what I'm doing and make one too! :)
Looks great Barbara! I found this technique at the library, and the book expands to show more options, "Pieced curves so simple : the 6-minute circle and other time-saving delights". I have used it for inset circles, and it can work well with the seams pressed in as well for a traditional applique finish. In February, I posted pics when I tried the method with hearts! I love this technique!
Wow! Thanks for sharing this one. It's amazing. I definitely will be trying this.
That is perhaps one of the coolest things ever! I cannot wait to try it out :) I also love your crane!
This is fantastic. Now all I want to do tonight is make circles. Alas, I must go outside and rake dry grass. And dream of circles and fussy cutting. You've lightened the chore, that's for sure. Thanks for the wonderfully detailed tutorial.
What a great technique Barbara, I could definitely do with a quick and easy method for circles :)
Thanks for linking up to New to Me too
Interesting, t say the least. I have never worked with circles but I can see the appeal.
I could follow your directions and make inset circles, too. Maybe some day!
Wow, it looks so easy. I may have to give circles a try. They scare me silly right now.
Thanks for a great tutorial! I want to try this out soon.
My mother sewed circles on our dresses like this in the 50's. I don't know who taught her how to do this or if she came up with it herself. Great tutorial on it.
Post a Comment