

Are you getting the idea that I've not had much success on my diet? Well, today's my birthday, and I'm not dieting today. (That doesn't explain all those other days, but it's my birthday and I'm not 'splaining anything either!)
When I was a working person, my office was dangerously close to one of the jewels of the Pacific Northwest, Grand Central Bakery. Dangerously close because their Jammers were murder for anyone trying to watch their weight. (That would be me.) A Jammer is like a thumbprint cookie, only instead of being a cookie it's a biscuit. Do you like biscuits? Well, do ya? I do. And I like cookies too. And jam. In fact, I have a wicked sweet tooth, and I like anything that has even one granule of sugar in it.
But to get back to the Jammers (I always get so distracted thinking about baked goods), I discovered that Grand Central Baking actually has it's own cookbook! And the recipe for the jammers is Right. In. The. Cookbook. Holy sh*t! Well, as you might imagine, I wasted not one second obtaining my own copy of the book, and then I wasted not one more day after it arrived on my doorstep before baking up a batch of Jammers. Ahhhhhhhhh. Can you think of a better way to spend one's birthday?

This is a terrific cookbook. It has recipes for ALL the things I like at the Grand Central Bakery, including their luscious blueberry muffins, their scones, their pies, their crisps . . . I'd better stop before I fall off the chair in ecstasy.
So I imagine you're wanting to know more about the Jammers, and I am just about to tell you. They were the simplest thing to make. So simple they're downright elegant.
Start by preheating your oven to 350°F.

Then, using a bowl with tall sides (a bowl for your mixer is just divine), whisk together the dry ingredients: 4 cups of all-purpose flour, 3 tablespoons of granulated sugar, 2 teaspoons of baking powder, 1 1/2 teaspoons of table salt, and 1 teaspoon of baking soda.

Once you have that done, add 1 cup of unsalted butter cut into 1/2-inch cubes. Yes, one cup. Did you think these were going to be low-fat or something? Where would be the fun in that?

Then, using the paddle attachment for your mixer, blend the butter into the dry ingredients until the texture of the flour changes from silky to mealy. There will still be dime- to quarter-size pieces of butter in the dough. At this point, you can cover the bowl with plastic wrap and chill it overnight. If you want to eat them as quickly as humanly possible, continue on.

Make a well in the flour mixture and pour in 1 cup of buttermilk all at once.

Then gently mix the dough until it comes together. It will still look quite rough and lumpy. Scrape down the dough from the sides and bottom of the bowl, and add another 1/4 cup of buttermilk.

Mix it again to incorporate any dry flour remaining. Most of the dough will come together on the paddle if you are using a stand mixer. You can do this with your hands too.

Stop mixing while there are still chunks of butter and some floury patches. The dough will come out of the bowl in a few large and messy clumps. Only some small scraps of flour will remain around the sides of the bowl. You can add a little more buttermilk if necessary, but only 1 tablespoon at a time, and no more than 1/4 cup total. Also, mix no more than one rotation after each addition.
When you're satisfied, dump the dough out onto a lightly floured surface and use your hands to gather the dough and gently pat it into an oblong shape 1 1/2 to 2 inches thick. It will not be particularly smooth or cohesive, and that's okay.
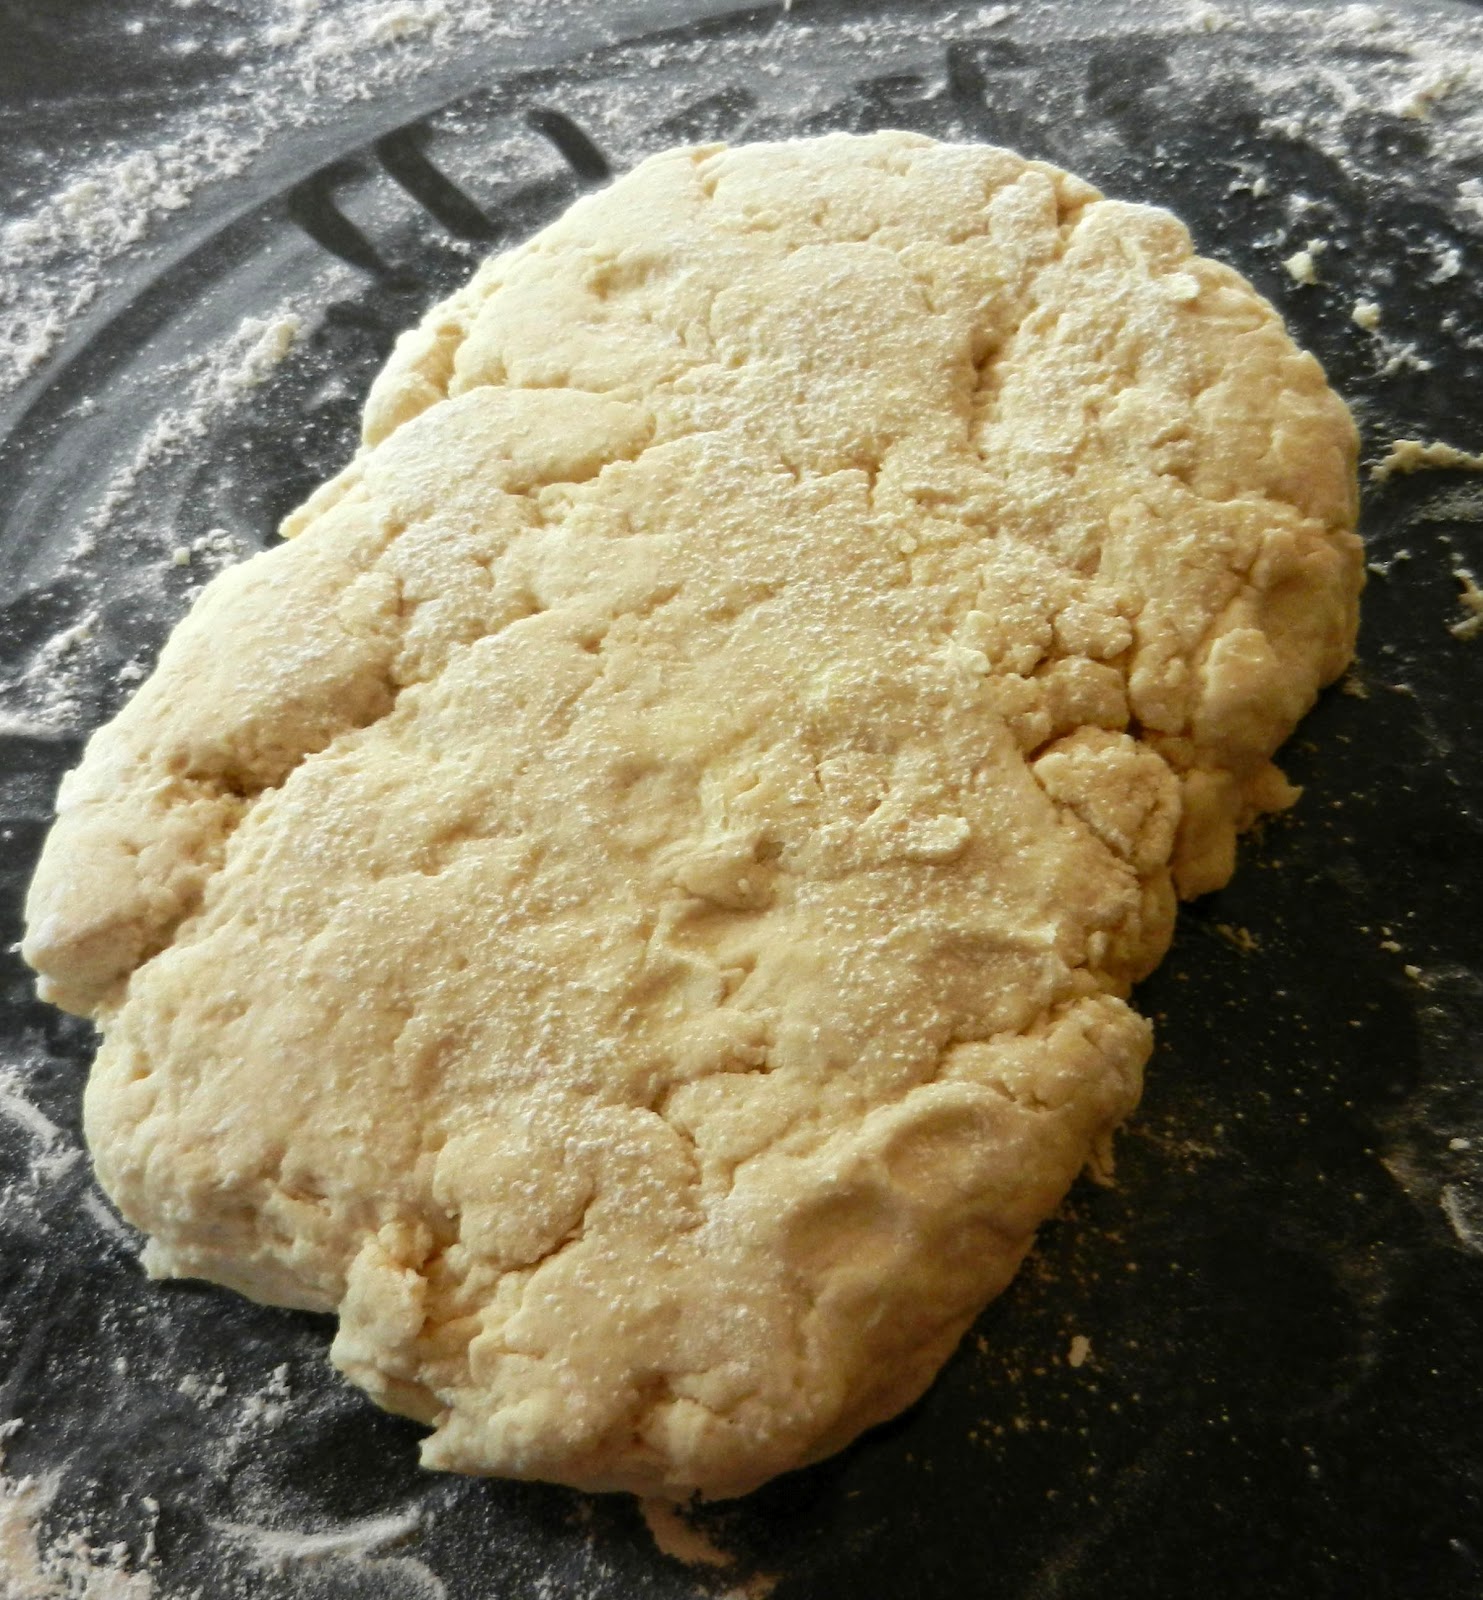
Now use a biscuit cutter to cut the Jammers into circles at least 2 1/2 inches in diameter. Layer the leftover scraps on top of one another and gently pat them out to a thickness of 1 1/2 to 2 inches, again cutting the remaining dough into circles. Do that until you've used up all the dough.

Lay them out onto a baking sheet lined with parchment. I highly recommend the parchment. You'll see why in a minute.

Now for the jam. You're going to want about 3/4 cup of good quality jam or preserves. I used some I bought at the Portland Farmer's Market last year. And may I just interject: Yum.

Then use your thumb to make an indentation about the size of a fifty-cent piece in the middle of each biscuit. You might have to support the outside of the biscuit a little bit, but try not to apply too much pressure to avoid smashing the layers. This is key to flaky jammers. (I got a little worried here because it started sounding an awful lot like pie crust. Believe me. It's really very easy.)

Once that's done, use a teaspoon to fill the indentation with about one tablespoon of jam. A heaping teaspoon is about the right amount.

Aren't they cute?

Then bake them for 35-40 minutes, rotating the pan halfway through the baking time. (Oh boy! Almost to the eating part!)

Now, here's why you want the parchment. When I turned mine around, one of them had spilled it's guts. I'm not sure why this one was such a wuss, but that's baked goods for you. (Actually, I think I might have filled it just a little too full.)

Finish baking them and Voila! Yummy, yummy, yummy Jammers for your eating pleasure. These were so good I almost fell over dead.

Now this is very important: Try not to eat them all in one sitting.
Here's what the book says about the Jammers:
Like any good pastry, Jammers are irresistible warm from the oven, and remember, the higher the quality of jam, the better the Jammer. I recommend preparing the ingredients the night before. When you bite into a warm biscuit first thing the next morning, you'll consider the time well spent.
Here's the recipe for your printing pleasure.
Grand Central Bakery Jammers
Recipe from The Grand Central Baking Book by
Piper Davis and Ellen Jackson
4 cups (1 lb. 4 oz.) all-purpose flour
3 tablespoons granulated sugar
2 teaspoons baking powder
1 1/2 teaspoons table salt
1 teaspoon baking soda
1 cup (8 oz. or 2 sticks) cold unsalted butter
1 1/4 to 1 1/2 cups (10-12 fluid ounces) buttermilk
3/4 cup good quality preserves or jam
Prepare to bake: Preheat the oven to 350°F. Lightly grease a baking sheet or line it with parchment paper.
Combine the dry ingredients: Measure the flour, sugar, baking powder, salt, and baking soda into a bowl with high sides or the bowl of a stand mixer and whisk to combine.
Cut in the butter: Dice the butter into 1/2-inch cubes. Use your hands or the paddle attachment of the stand mixer on low speed to blend the butter into the dry ingredients until the texture of the flour changes from silky to mealy. There should still be dime- to quarter-size pieces of butter remaining. If you're preparing the dough the night before, cover the bowl with plastic wrap and chill overnight; otherwise proceed with the recipe.
Add the buttermilk: Make a well in the flour mixture and pour in 1 cup of the buttermilk in one addition. Gently mix the dough just until it comes together; it will look rough. Scrape the dough from the sides and bottom of the bowl, then add another 1/4 cup buttermilk and mix again to incorporate any floury scraps. The majority of the dough will come together on the paddle if you are using a stand mixer. Stop mixing while there are still visible chunks of butter and floury patches. The dough should come out of the bowl in 2-3 large, messy clumps, leaving only some small scraps and flour around the sides of the bowl, if the dough is visibly dry and crumbly, add up to 1/4 cup more buttermilk, 1 tablespoon at a time, mixing no more than one rotation after each addition.
Form and cut the dough: Turn the dough out onto a lightly floured surface. Use the heels and sides of your palms to gather the dough and gently pat it into an oblong shape 1 1/2 to 2 inches thick. It won't look smooth or particularly cohesive; that's okay. Use a biscuit cutter to cut the jammers into circles at least 2 1/2 inches in diameter. Layer the leftover scraps on top of one another and gently pat them out to a thickness of 1 1/2 to 2 inches and again cut into circles.
Fill the jammers: Use your thumb to make an indentation the size of a fifty-cent piece in the middle of each biscuit. While gently supporting the outside edge of the biscuit with your fingers, use your thumb to create a bulb-shaped hole that's a bit wider at the bottom and that goes almost to the bottom of the biscuit (think pinch pot). Try to apply as little pressure as possible to the outside of the biscuit to avoid smashing the layers, which are the key to flaky jammers. Fill each indentation with 1 tablespoon of jam and put the jammers on the prepared baking sheet with 1 1/2 inches between them.
Bake: Bake for 35-40 minutes, rotating the pan halfway through the baking time. The jammers should be a deep golden brown.
Now . . . what should I bake next?
9 comments:
Happy Birthday Barbara! Yes, do treat yourself to your heart's content. I'll add that those cookie/biscuits look divine, esp with that topping!
JoAnn
The word 'diet' is not to be uttered on one's Birthday! Happy Birthday! I may have to make these for my cowboy crew - they like a little something sweet with the rest of the spread. :)
They look soooo yummy. What would happen if you put a little Snicker bar in the center instead of jam? Oh God. My arteries just slammed shut.
My mouth is watering, they look sooo yummy. Happy birthday.
Oh my, Jammers want to be in my house too; I asked them. I can taste filling that we make from our cherries which are slowly beginning to turn edible colors.
Happy Birthday my northern neighbor.
Happy Birthday! I hope you had a wonderful day.
I think there are some jammers in my future! Thanks for sharing!
Beth in Dallas
How great are these! The jam wouldn't be all cold from the fridge on the warm biscuits. Sounds great.
Next on the menu? Do you know how to make cream horns? Those are delicious.
Happy birthday! They look yummy.
Happy Birthday. I hope you have a wonderful birthday. And thank you for the yummy recipe. They remind me of sweets my grandmother used to make when I was very young.
Post a Comment